Summary
This short tutorial tells you how to create non-interactive active and inactive tabs in the Axure prototyping application. If you are interested in a tutorial that teaches you how to create interactive tabs, then drop a comment and let me know.
This short tutorial tells you how to create non-interactive active and inactive tabs in the Axure prototyping application. If you are interested in a tutorial that teaches you how to create interactive tabs, then drop a comment and let me know.
- Drag a rectangle from the widgets pane to the stage/ wireframe pane.
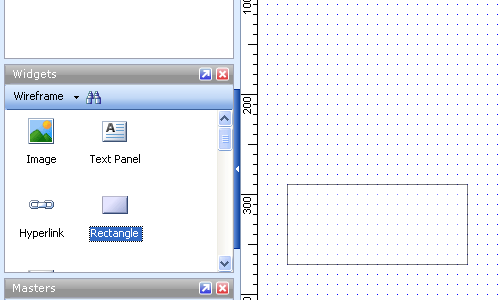
- Drag a second rectangle from the widgets pane to the wireframe pane.
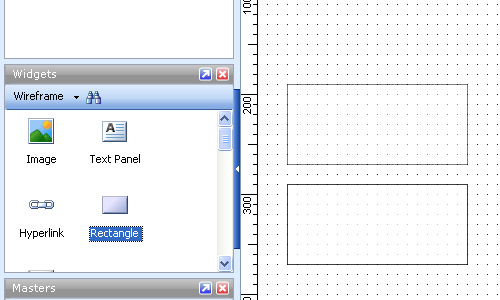
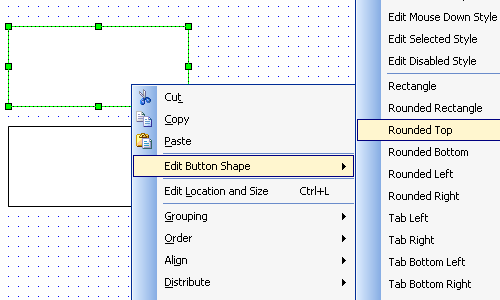
- Right-click the second rectangle, select ‘Edit button shape’ and then ‘Rounded Top’ from the context menu.
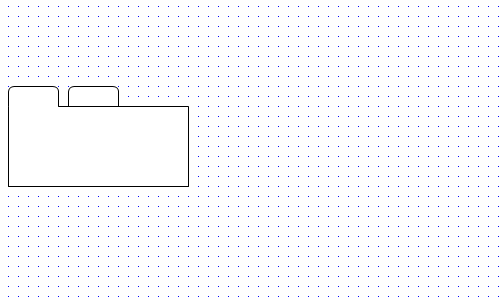
- The rectangle will now appear as the image below.
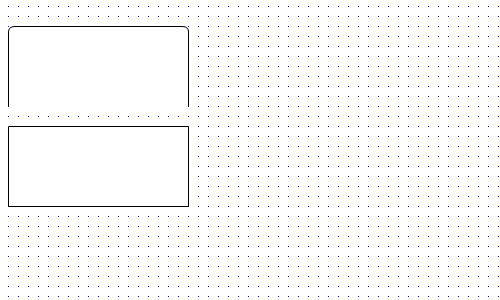
- Snap-align the bottom edge of the ‘Rounded Top’ rectangle to the top edge of the rectangle below.
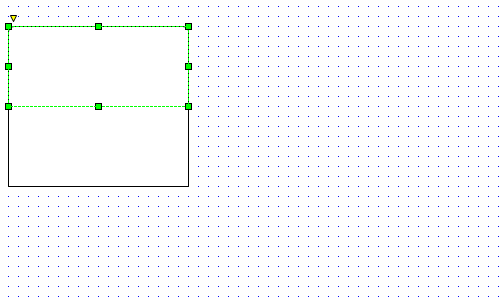
- Resize the second rectangle to the size of a tab.
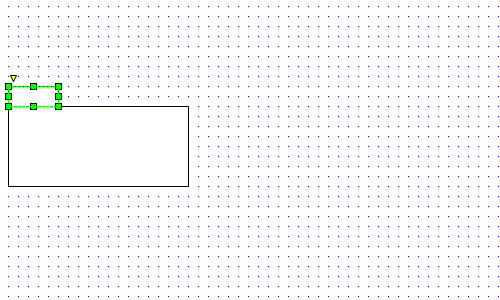
- Copy and paste the tab (or click the tab, hold ‘Ctrl’ on the keyboard, and drag the tab) you just created and align it horizontally to the right of the first tab.
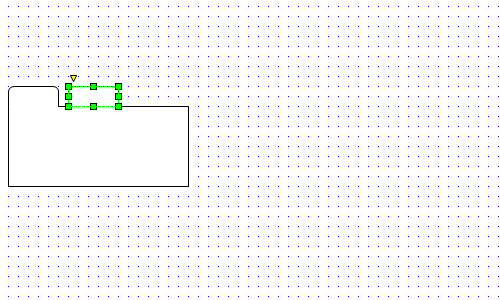
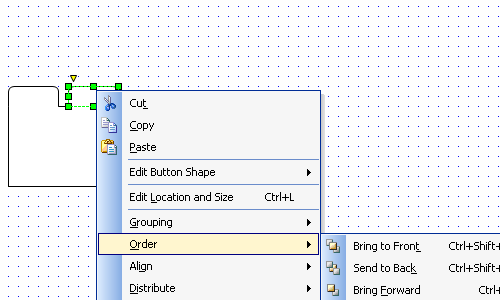
- Right-click the duplicated tab and select ‘Order’ and then ‘Send Backward (or use the shortcut ctrl+[) till the second tab goes behind the first rectangle.
- You’re done. You should now have one active and one inactive tab as appears in the image below.
If you want create a vertical tabbed menu, then choose ‘Rounded Left’ in place of ‘Rounded Top’ in step 3.

Leave a Reply